Building the
Atom Minor Mk III
by Jan Huning
2. Main Bearing Housing
 |
 |
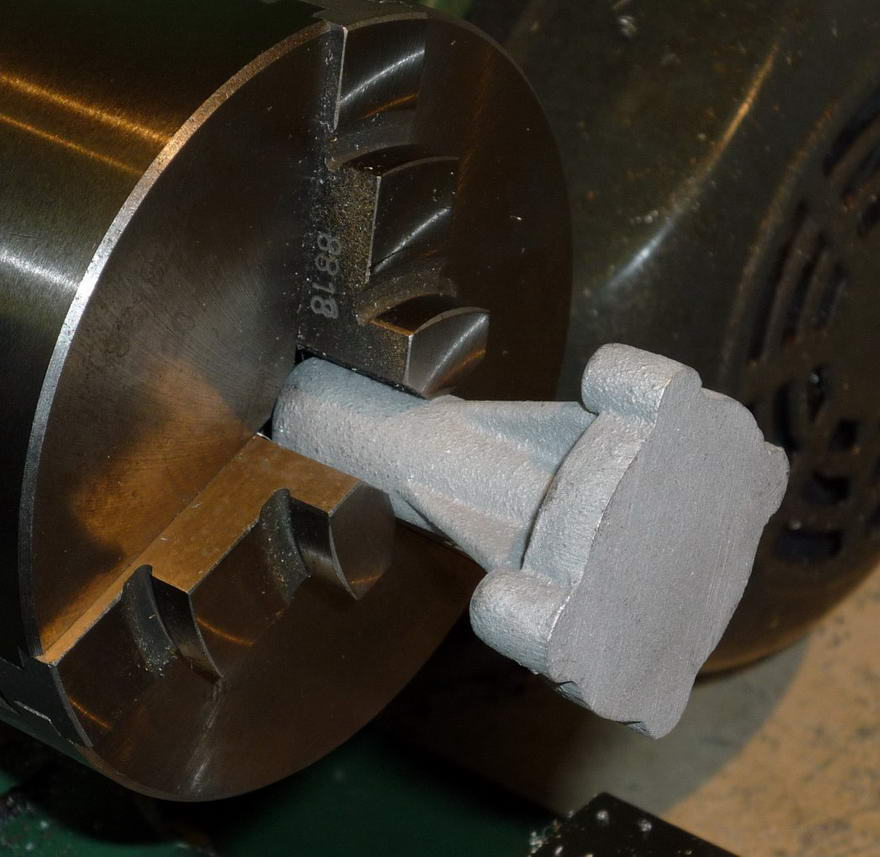
The front housing was simply held by the front section in the 3-jaw. It ran true without any adjustment being necessary. It was faced to length, the register that fits in the crankcase turned, and the hole for the crankshaft bushes drilled undersize, bored and then reamed to size. (For a long hole such as this, the hole is not always bored right through. It is bored as deep as the boring tool allows, to a diameter the same as a suitable drill diameter for reaming. This drill is then used to complete the hole. The first section of the hole that has been bored will guide the drill sufficiently to ensure that the final hole is straight and concentric with the turned axis.) The length of the spigot was adjusted to compensate for the increased axial width of the crankcase. The fit of the spigot in the crankcase was made a close fit, as recommended by ETW, but not too tight a fit to avoid the risk of pickup (galling) when assembling the two pieces.
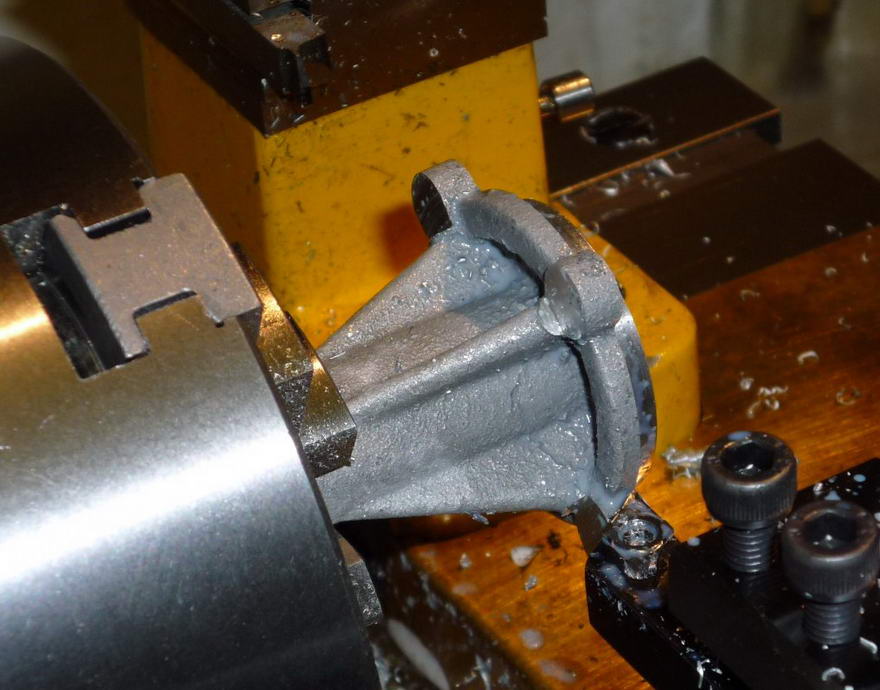
The front face of the bosses for the attachment scews were also machined at this same setting, using a left hand tool.
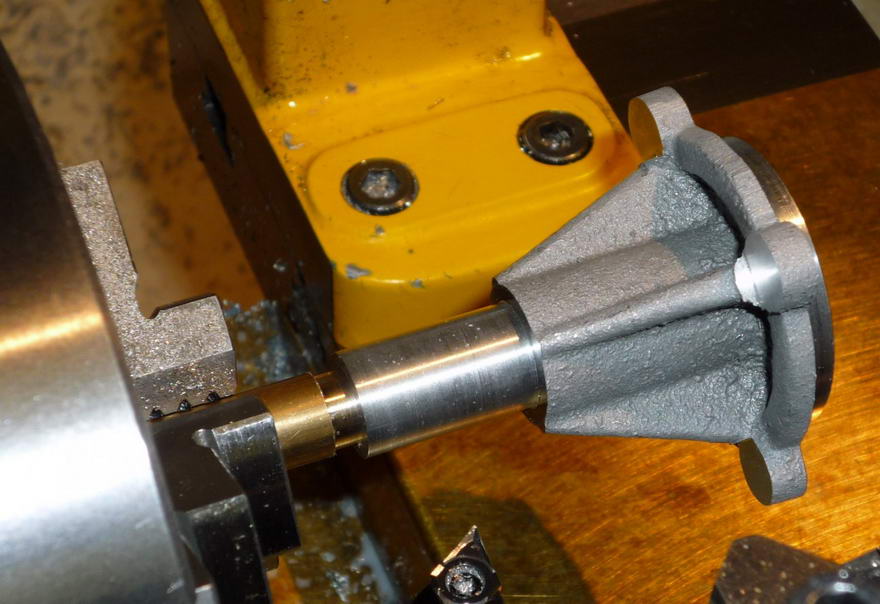
To machine the front section where the contact breaker fits, a brass mandrel was turned up and the housing pushed onto this. The contact breaker seating was then turned with a left hand tool.
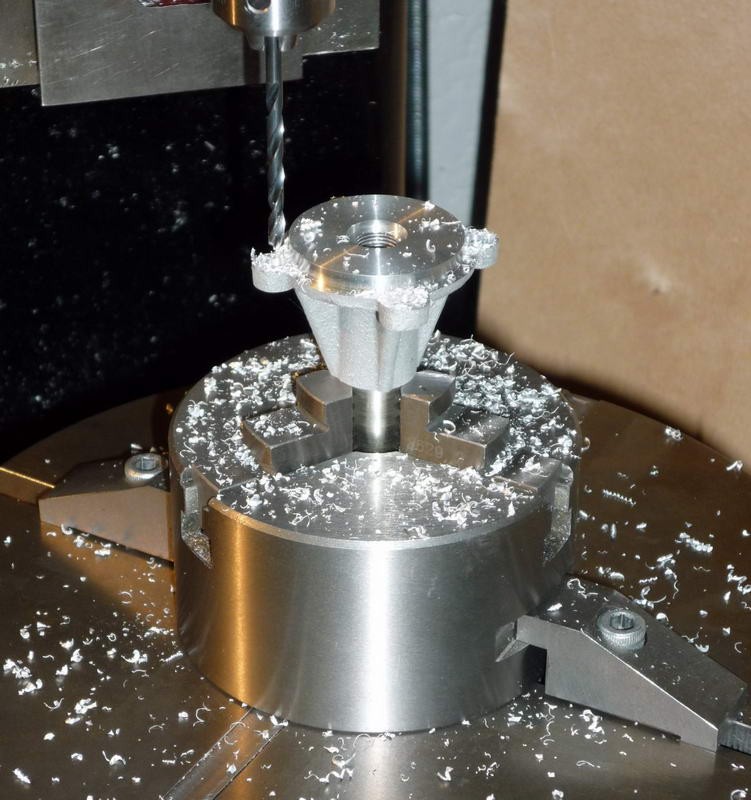
Finally the clearance holes for the mounting screws were drilled with the housing held in a 3-jaw chuck on the rotary table.


Model Engine News Home
Please submit all questions and comments to [email protected]