How To Solder a Washer to Piano wire
This is another of those little "tricks of the trade" which I would normally tag as too basic to bother explaining, were it not for the evidence I see all to often that a simple task can all too easily be done badly. In this case, soldering a retaining washer to the end of a piece of piano wire so the two won't come apart without great effort, certainly more than they will endure during their service life.
My old electronics instructor used to harp on at we Technicians in Training (and yes, the obvious acronym was officially applied) that there are three secrets to a good solder joint, cleanliness, cleanliness, and cleanliness. I would have thought that most modelers understand this simple rule, so perhaps the problem lies in understanding how clean is clean, and how to best achieve this state.
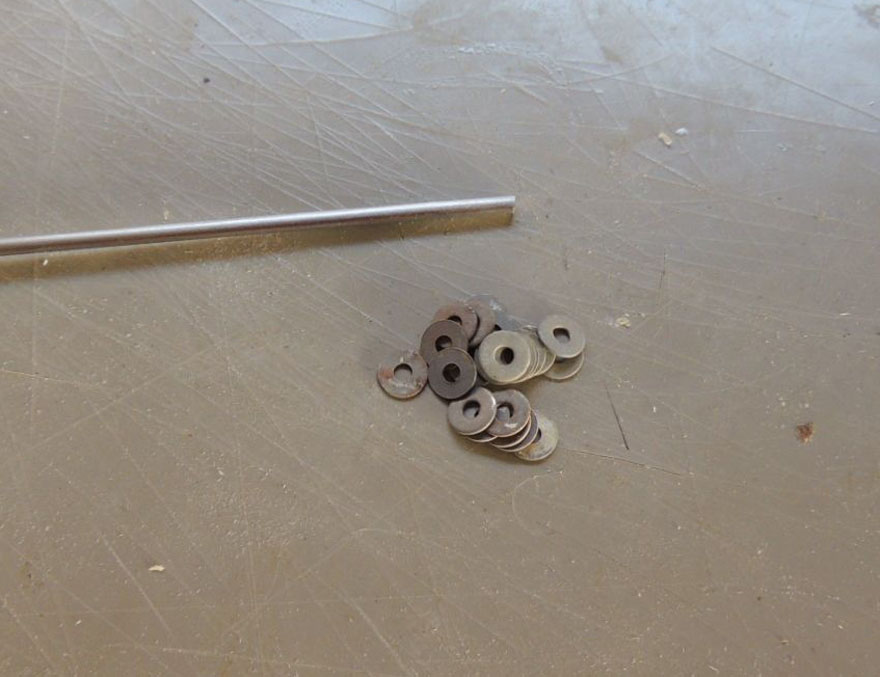
In this photo we see a piece of 3/32" piano wire and a pile of common, stamped, 3/32" ID steel washers. The wire has been cleaned on the end with 220 grit glass paper is bright, shiny, and free from oil, corrosion, rust and other evil solder resisting agents. The washers are awful. They were born awful, and as they are, solder will not touch them, so we need to clean at least one side. Rubbing the washer against an abrasive such as fine sand paper, or a mill-cut file is the obvious remedy, but how to hold the little blighter while exerting sufficient force to get down to the base metal is, I'll admit, not that easy. The same applies to plated washers. Even with bright nickel plating, it's best to get down under it before soldering.
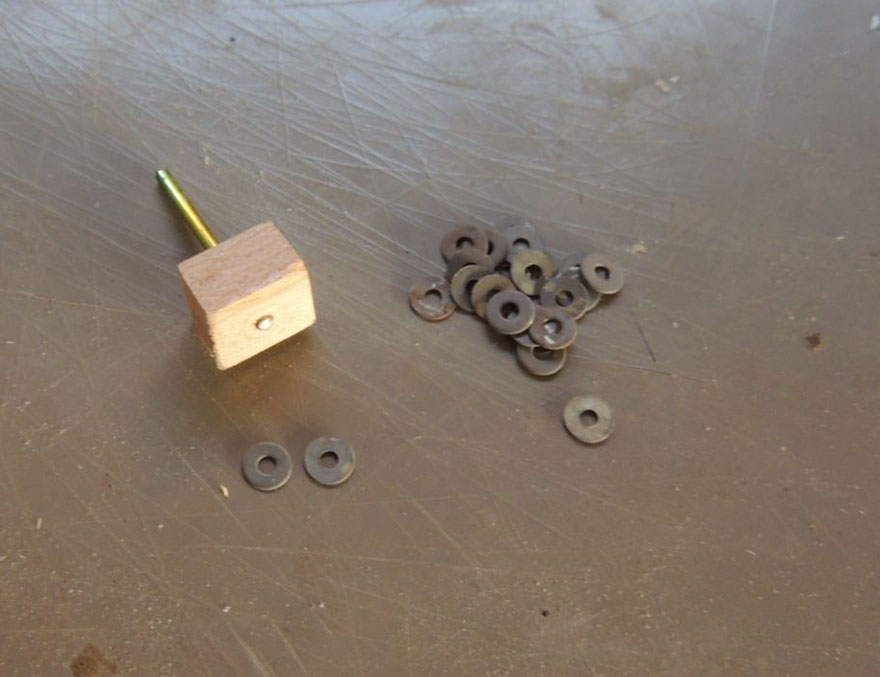
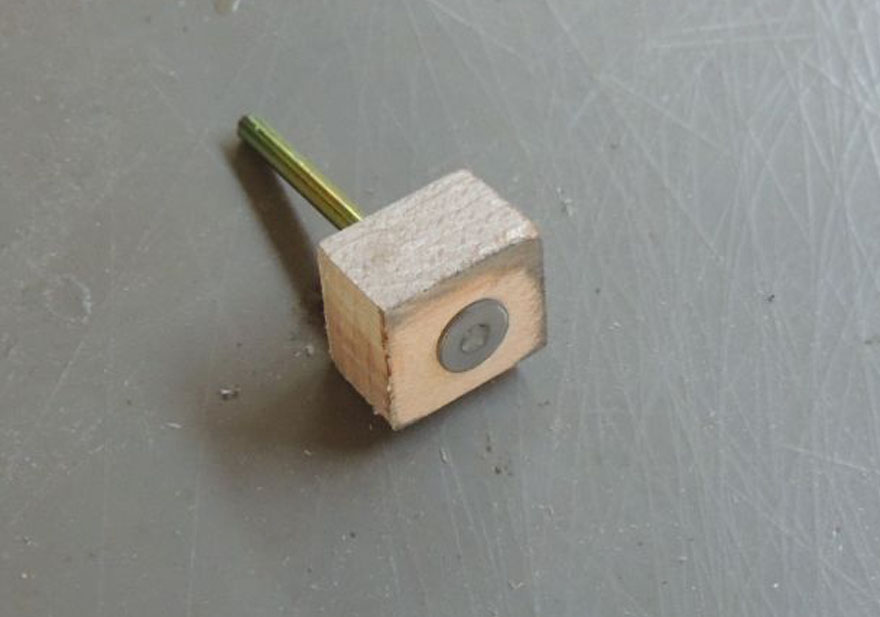
For that, we will use a simple jig comprising a small block of hardwood with a piece of 3/32" piano wire firmly inserted in it. Note the two washers. Because they have been formed by stamping, one side will have a light, raised, sharp burr edge; the other will be slightly rounded. Let's call this side the top. It is far easier to clean the top (rounded) side than the other as that would require first removing the edge burr before you can get near the surface.

As you should guess, the wire holds the washer. It does this by protruding through the block by just under the thickness of the washer. The hole in the block has been drilled using a drill-press job as it really needs to be at right-angles to the face of the block if the jig is to work correctly and not tend to spit out the washer. In the shots here was see the tiny projection of the wire, and a washer fitted to the jig so that the "top" face will be downwards (compare this face to the burred face of the washer next to it).
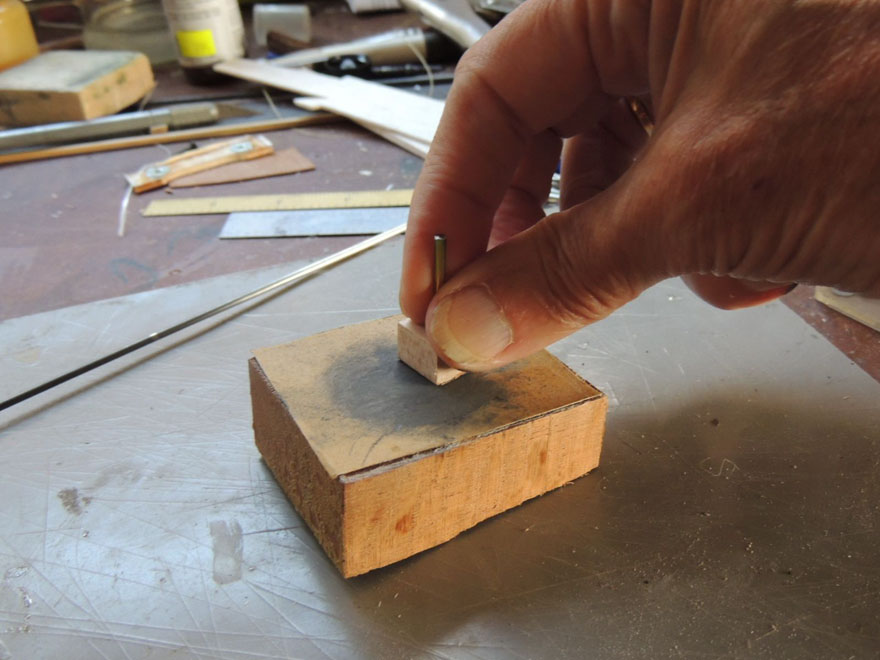
To clean the face of the washer, I'm rubbing it against a piece of 220 grit glass paper glued to a sanding block using a circular motion. Keep doing this until the surface is uniformly clean, all over. Most likely, this will leave a thin area around the edges of the ID and OD which has not been cleaned due to the curved edge at the punch entry. We can ignore this, although if you are thorough, a touch around the edges holding the washer in you finger tips, followed by a light counter bore with the tip of a 1/8" diameter twist drill will finish the job. Expect to loose a washer or two if you do this, which is why I say don't bother.
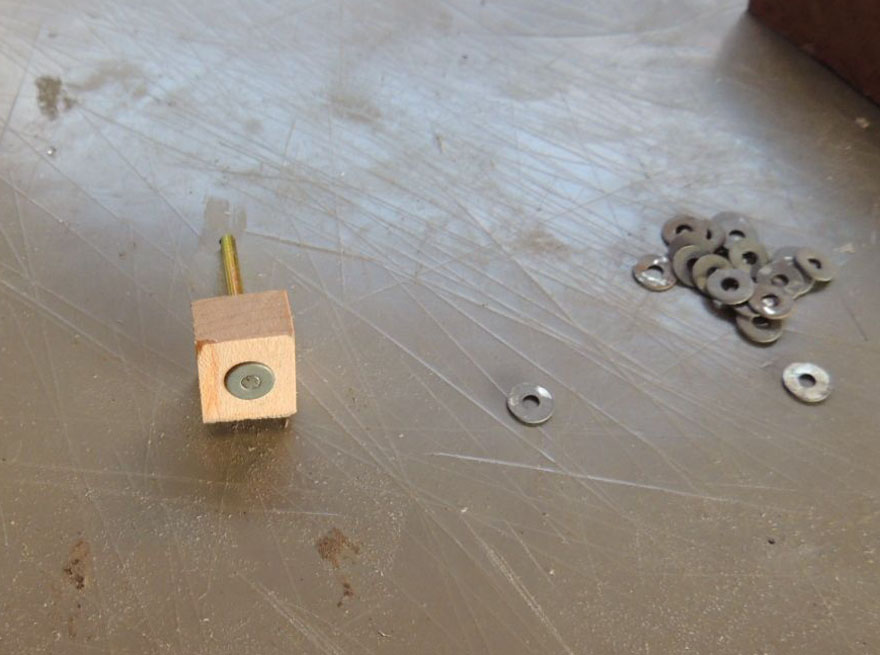
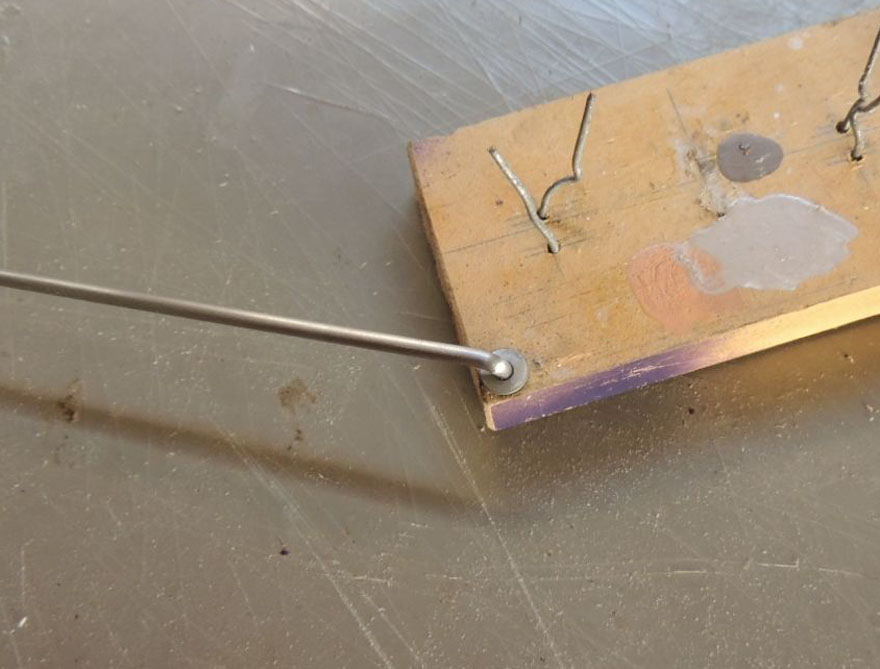
Here's the washer, cleaned and ready for soldering. The photo does not really do justice to the cleaning job, but be assured we have what we are after—no part of the face of that washer has not been brushed by the sandpaper and it is bright and contamination free, ready for soldering.
Now I know I said "three rules", and the fourth is not really a rule, more a fact of life. If anything moves or jolts that joint before the solder hardens, the joint will go "cold", meaning it will crystallize and look dull, and almost certainly fail in service. So we need some sure-fire way of holding everything while the joint cools. The easiest way is to drill another 3/32" hole in another scrap block, again using a drill press. Put the washer over the wire, then the wire in the hole and press home so the washer is at right angles to the wire.
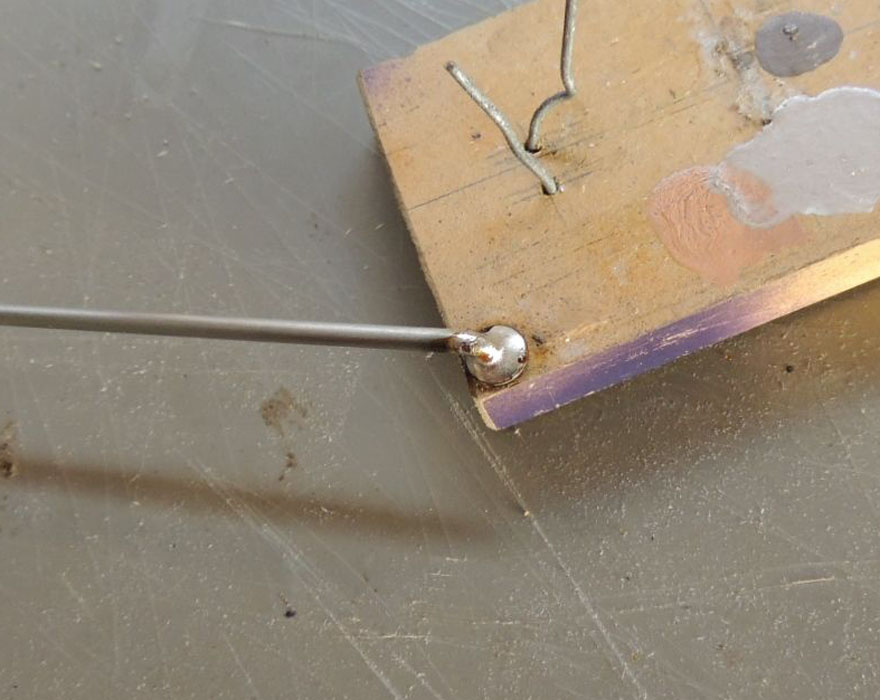
I find electrical, rosin cored, 60/40 solder is quite adequate for most jobs, Occasionally, I use high temperature silver solder (as distinct from silver braze). Soft silver solder has no core flux and we need a corrosive flux for it, requiring very concentrated neutralization and cleaning after the joint cools. With the 60/40, you can brush off any hardened, left-over flux with some acetone, or a wire brush if you wish, but in most cases, it will be fine as is. When soldering, "wet" the iron with a bit of solder first, then touch the wetted tip to the wire, avoiding the washer. The melted solder helps initial heat transfer. We want to heat the wire to the point where it will melt the solder, so nudge it (the wire, not the soldering iron tip) with the solder until the wire melts the solder. Now move the tip to the washer and add it tiny bit more solder which should immediately "flash" all the way around the wire and washer. Try to use as little solder as possible—even a good joint can look bad if it takes the form of a large blob!
If you do happen to produce a large, unsightly blob, just re-melt the job, then quickly grab the block and tap it against the workbench, sideways. Almost all of the molten solder will depart and burn your foot. As the joint is now the very definition of a "cold joint", you will need to re-heat the job and apply new solder, more sparingly this time.
Incidentally, there is an excellent little book on soldering and brazing which explains the eutectic nature of lead-tin alloys, and the points at which they transform from solid to liquid, and where they exhibit the "pasty" state. Check out our review of Soldering and Brazing, by "Tubal Cain". The review begins with the graph which explains why 60/40 is the ideal ratio for a general purpose solder alloy—at this ratio, the melted alloy swaps from solid to liquid almost instantaneously; other ratios result in an alloy which exhibits a temperature range where the solder remains in a pasty state.
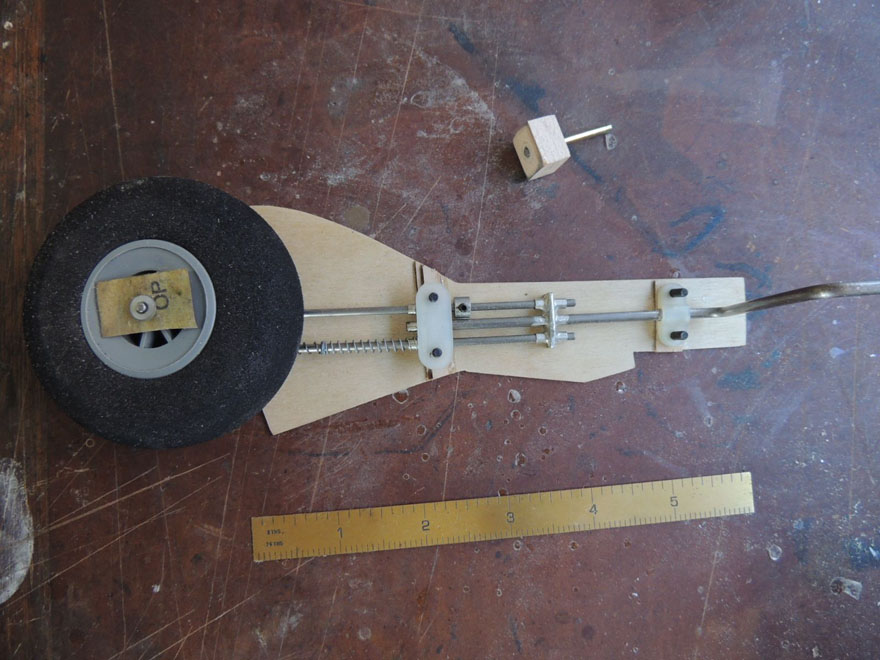
So there, easy to do and quick, with perfect results every time. If you are soldering a washer on the end of a piece of wire as a wheel retainer, tear off a tiny square of fine glass paper—say 600 grit—and punch a hole in it. Put this over the wire, then the washer. The glass paper will provide spacing for a bit of free-play in the wheel, act as a heat shield for the wheel center if it is plastic, and prevent solder wicking down into a brass bushing if the wheel has one, thus preventing you from accidentally gluing the wheel shut. It also acts as a platform to keep the washer at right-angles to the wire. Now let's see no more of those dreadful cold, unreliable, unsightly blobs, shall we?
![]()

This page designed to look best when using anything but IE!
Please submit all questions and comments to
[email protected]
Copyright (c) Ronald A Chernich, 2013. All rights reserved worldwide.