The "Bubble Pack" Taipan 1.5
(January 16, 1999, Last update: Nov 28, 2004)
Click on images to view in full screen mode.

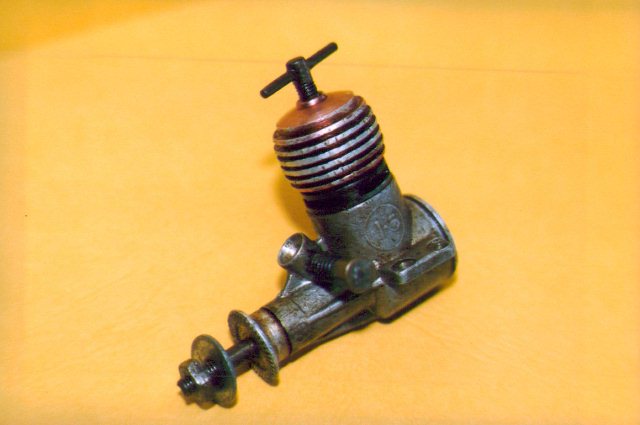
BEFORE |
AFTER |
 |
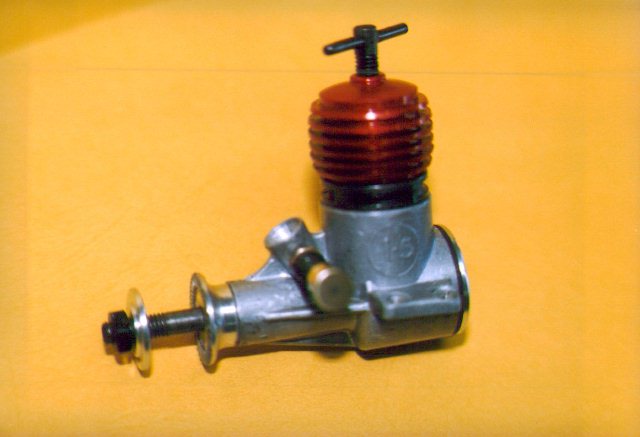 |
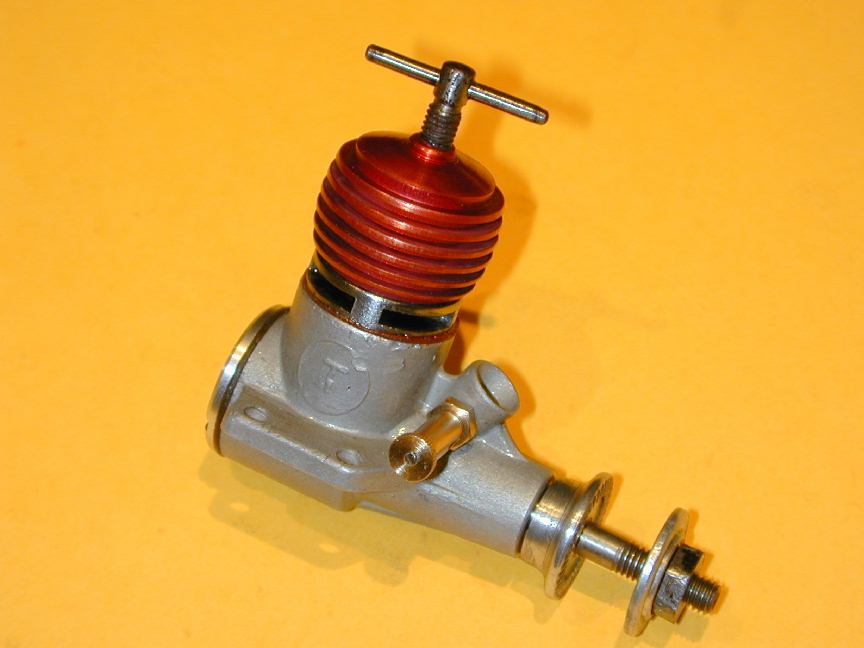
The engine above was restored for a friend who'd had it since school days. Most of the work required was in skimming the head to a clean state for re-anodizing. This required mounting on a 27 TPI (pipe thread?) mandrel, and that is not a thread the "Quick-Change" gearbox on my Myford will cut, but fortunately a loose 28 TPI was good enough. The crankcase got a good jolt in the ultra-sonic bath and the prop driver and backplate needed skimming. The lugs are slightly bent (as a result of countless prangs) and I was not game to try straightening them. Besides, it adds character, don't you think?
I had one of these as my first engine at a very young age, so I can say the needle valve is wrong. The one here (with spring) belongs to the later "flat-head" model. The correct version for this model should have a slit. But what the hell? It cleaned up nicely and I didn't feel like making Van a new one...
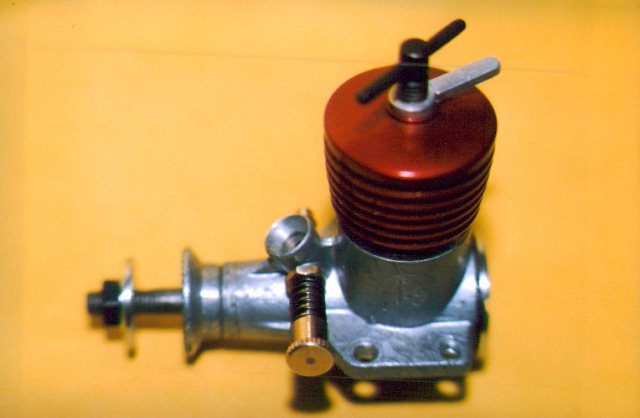
BEFORE (2)
Now, after 2 years of searching, I have my own 1.5 Bubble Pack to restore. The well meaning butch.. err, vendor, who owned it before tried to make it presentable for sale. He "turned" the multy-grip marks off the fins and lost a lot of metal and anodizing in the process. Ok, that can be fixed, but he's also had the crankcase sand (or vapour) blasted, including the backplate! I can lightly skim the backplate, but nothing is going to fix the crankcase finish. The prop nut is not original and the drive washer has had some amateur metal turning too, probably by gripping the shaft in an electric drill. It needs a correct (slit) needle and the compscrew needs bluing, but I'm happy enough.
Head Preparation
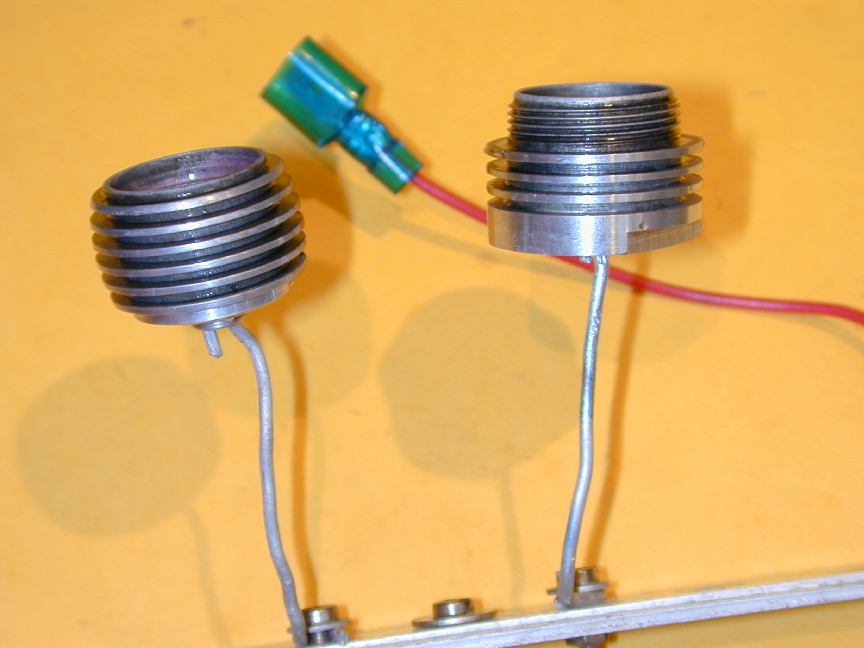 The first step is to take the head back to "bare metal". A short bath in a weak caustic soda solution will remove the anodizing, then any cosmetic defects can be turned off, taking care not to remove too much metal. Next, the part must be polished. Color anodizing, so I've read, is transparent. The metallic sheen comes from the underlying metal--just like "candy apple" finishes. So the shinier the underlying metal is, the more lusterous and more "metallic" the appearance after anodizing and coloring. After polishing and cleaning, the parts get a very quick caustic bath to remove any last vestages of oil, then they are attached to the anode on an aluminum tree as seen here.
1957 1.5cc AFTER
 An acceptable result, but not outstanding compared to others I've done. With more experience (two years on in late 2004), I now know that my electrolyte bath was not sufficiently acidic, hence the slightly washed out look on the head. Oh well... To complete the job, the backplate and prop driver got a light skim and the rest of the engine got a good ultrasonic clean. A reproduction needle valve assembly of the correct vintage completes the restoration. The prop nut could stand replacing, but the restored engine is quite attractive for display, or running, though it is a pity about the blasted finish.
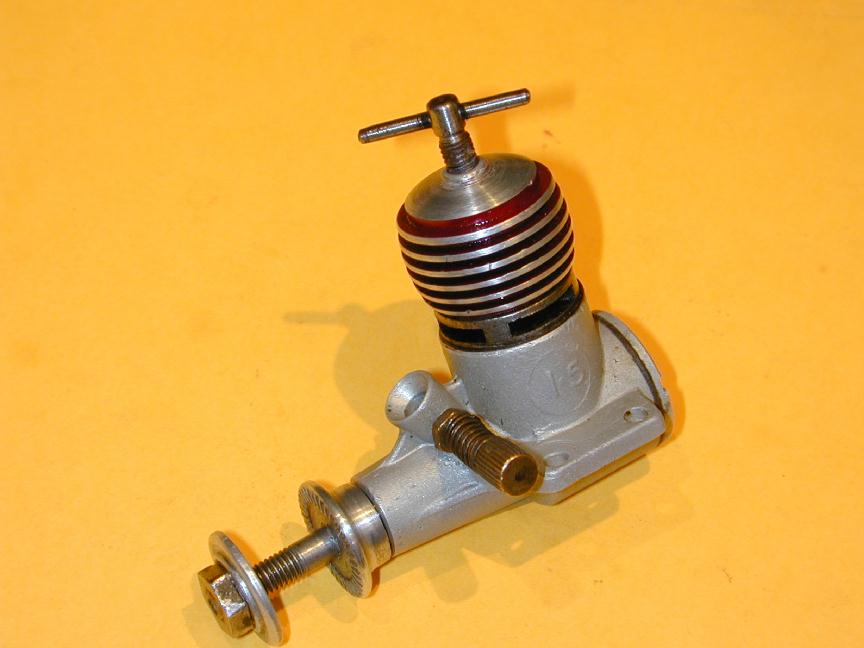
1957 1.5cc AFTER (2005)
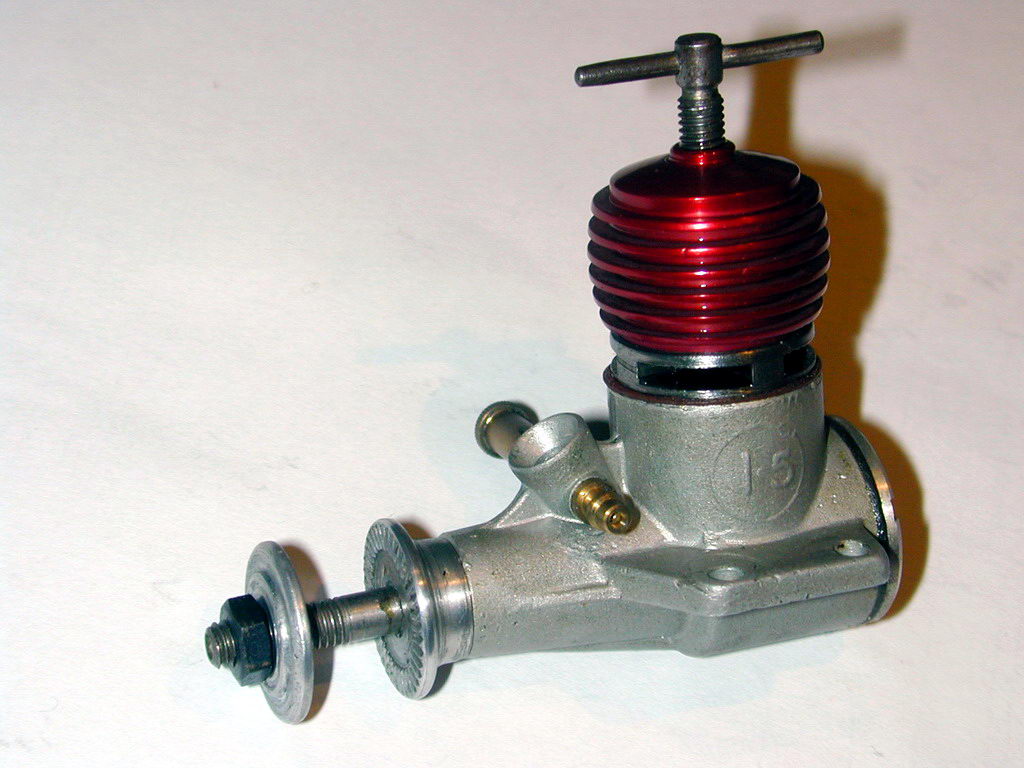 The above result bugged me everytime I looked at the engine. Finally, having bought for-real anodizing dies and other chemicals, the head was de-anodized in caustic soda, re-polished, cleaned, de-smutted, re-anodized re-dyed, and sealed in a Nickle Acetate solution which results in less dye loss during the sealing process. I'm no longer ashamed of the result.