Building the
Atom Minor Mk III
by Jan Huning
5. Contact Breaker
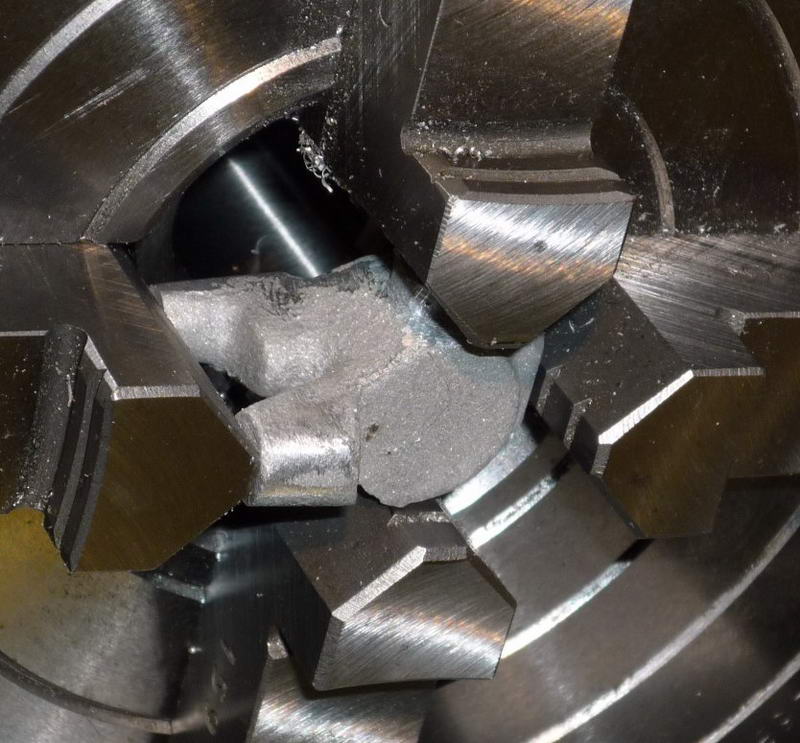
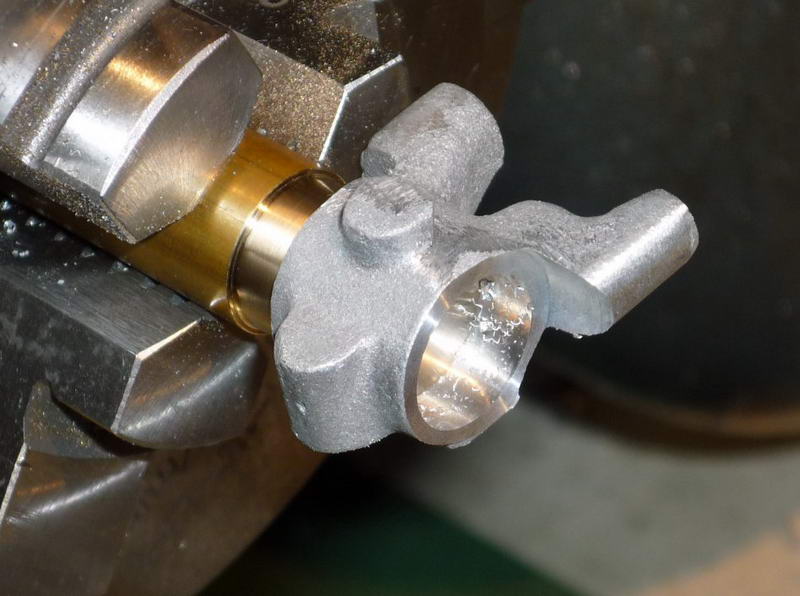
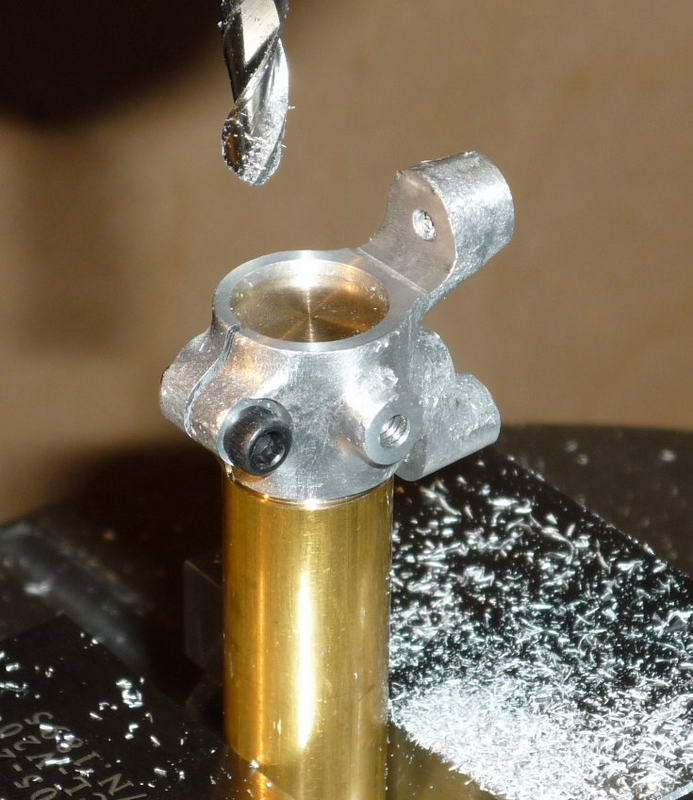
The contact breaker was a little tricky. It was held in the 4-jaw, which held it securely, but it took a little fiddling around to get it to run true. The final setting was checked by running the lathe at about 300rpm and looking to see that the body looked to be centred. The end was faced and the hole drilled and bored to a close fit on the front housing. It was then turned around and held on a brass mandrel for facing the other side. This provided two parallel faces allowing the contact breaker to be held in a machine vice for milling the tops of the bosses to height. The holes were drilled and threaded (4-40UNC again) and the hole for the little pushrod reamed. I think I reamed it 3mm rather than 7/64". The contact breaker was then turned 90 degrees for facing the boss on the side, spotfacing the hole for the clamp screw, and threading the two holes.
 |
 |
 |
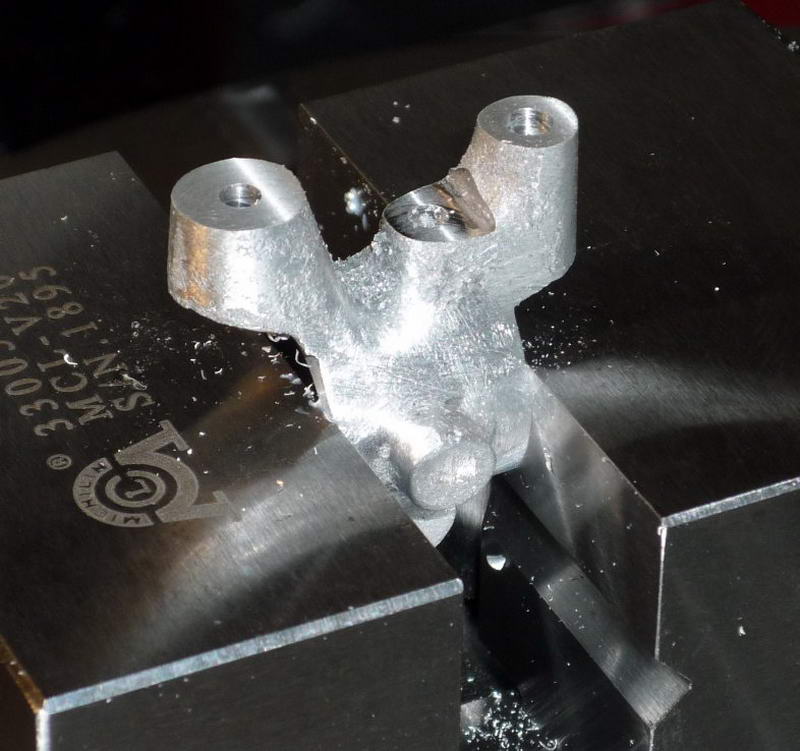
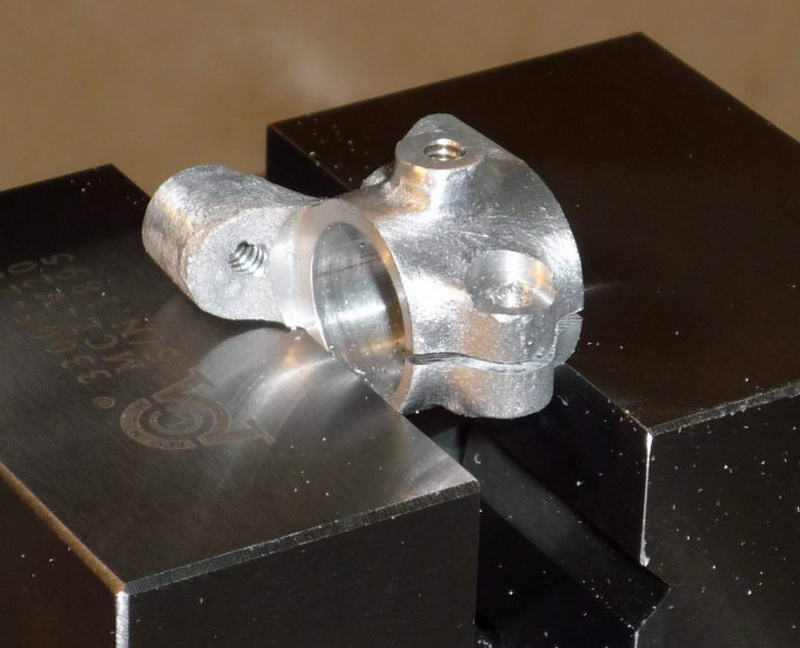
The slot was cut at the same setting with a 20 thou slitting saw. I put the clamp screw in from the same side as the adjusting arm so both holes could be machined at the same setting. The last operation was to mill the underside of the body at the front, holding the body by clamping it on a piece of bar held vertically in the vice (this could have been completed just as easily by filing). The Body was then cleaned up by filing.
 |
 |
 |


Model Engine News Home
Please submit all questions and comments to [email protected]